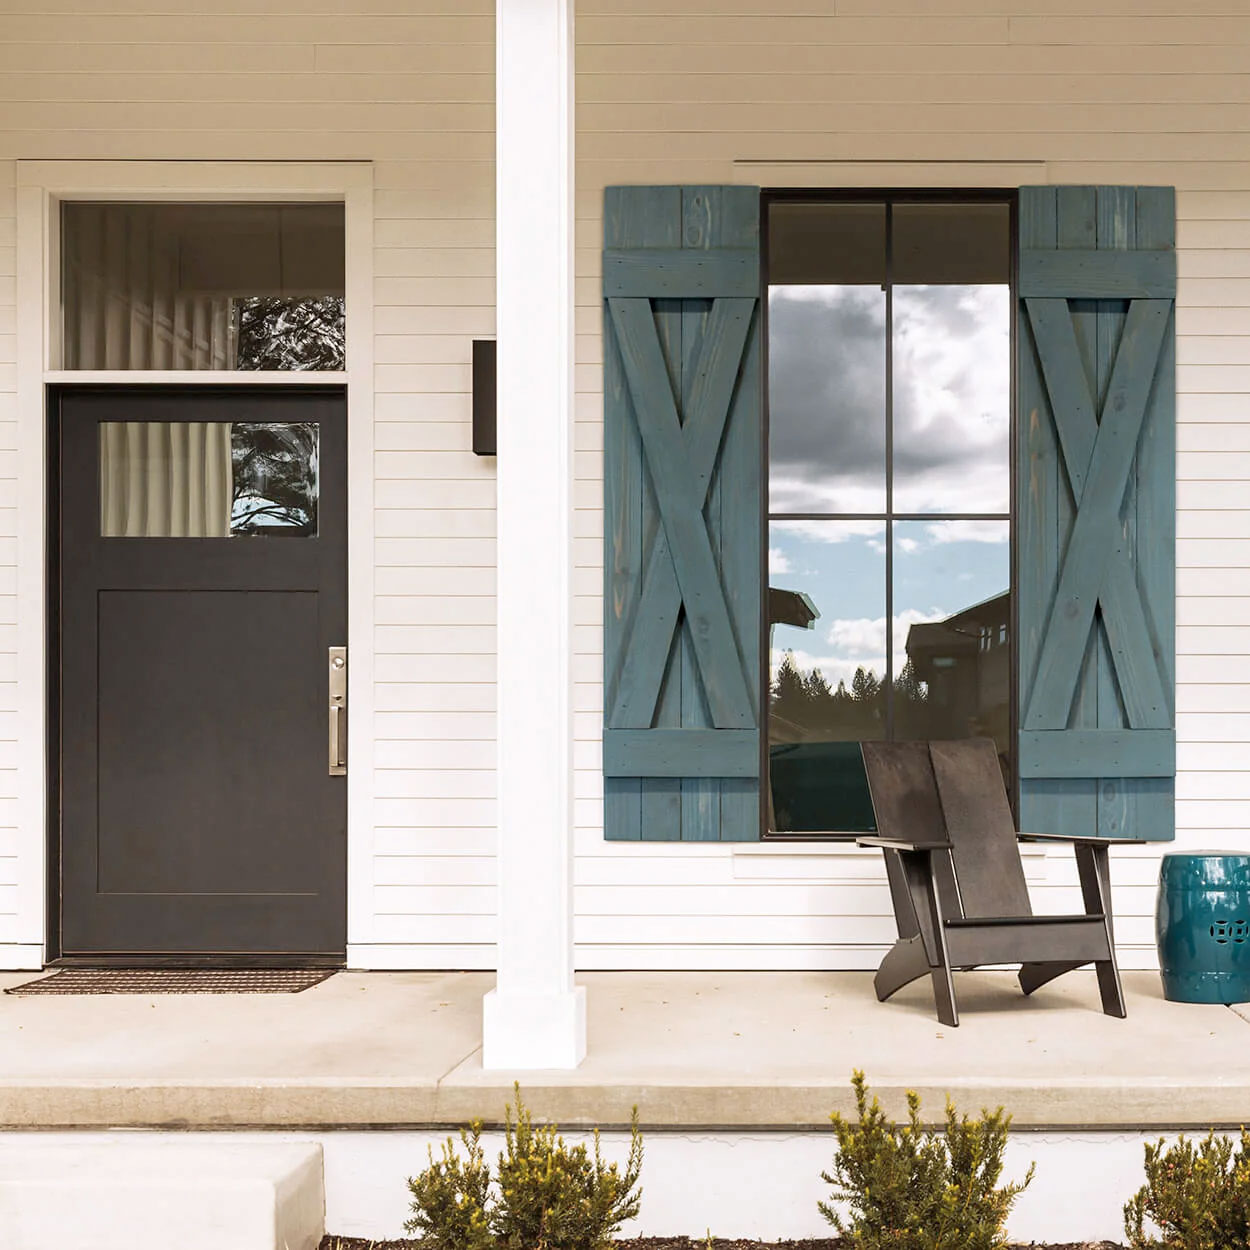
Painting your shutters can be an excellent way to refresh the exterior appearance of your home. Dogberry Collections offers several different colors of exterior shutters including unfinished! Whether you want to change the color of your shutters or simply give them a fresh coat of paint, this step-by-step guide will walk you through the process of painting shutters in a do-it-yourself (DIY) fashion. By following along in this blog, you will be able to freshen up your curb appeal and transform the look of your home's exterior.

- Gather all the necessary materials before you begin. Take a moment to review the list of items you will need for your DIY wooden shutters. Before going through the painting process, gather all the materials you need to ensure a smooth workflow.
- You will need drop cloths or plastic sheets to protect the surrounding areas from paint drips.
- Use Painter’s tape to make clean line work when masking off the desired surface.
- A tack cloth will be used to remove any dust or debris from sanding the shutters.
- Primer is important to establish a smooth and adhere the paint to your DIY shutters.
- Choose an exterior paint that is for outdoor use. Check for the weather resistance and durability of your chosen paint.
- Paint brushes will work for detailed areas. It is optional to have a paint roller for larger sections on the exterior shutters. Another option is using a paint sprayer to provide a quick and more even application. Doing this will have a more professional-looking finish.
- Have a clean cloth, paper towel, or sponge ready to wipe away any smudges or drops.
- Use mild detergent for cleaning your shutters before painting.

- Let’s start by preparing the shutters to achieve a smooth and long-lasting paint finish. In order to achieve your professional-looking DIY wooden painted shutters, you first prepare them. This involves taking time to clean the shutters and sanding them, so they are smooth and have an even texture. This is where the tack cloth will come in after sanding the shutters. It will get the dust and debris off. Afterward, you will be priming your exterior shutters. Following the recommendations for prepping, it will help the longevity of the paint on your DIY wooden shutters.
- Carefully detach the shutters from their mounting brackets, hinges or screws. Set drop cloths or plastic sheeting around the area.
- Clean the shutters with a mild detergent solution to remove the dirt or any old paint residue.
- If the shutters are rough or have imperfections, use sandpaper or a sanding block to smooth out the shutters. Use the tack cloth to wipe away the dust left by the sander.

- Next, apply primer to the shutters. This is important so the paint can adhere better to the surface. Place the shutters on a stable surface to make painting easier. Before using the primer, make sure it is thoroughly stirred.
- Place the shutters on a stable surface for easier access.
- Stir the primer thoroughly before using it. Use a paintbrush or a paint roller and apply a thin coat of primer to the shutters. Create even strokes and complete coverage with the brushes.
Several options are available when choosing how to paint the shutters.
- You can use a paintbrush to coat the shutters. Start in the detailed areas before moving on to the flat surfaces.
- If your shutters are large, a paint roller can come in handy. Use a brush for the detailed areas.
- For a more professional look, you can use a paint sprayer. Follow the manufacturer's instructions for setup and application.

- How do you paint your outside window shutters? After the primer is applied to the shutters. Use the paintbrush for the detailed areas first before painting the larger areas. Painting this way will ensure complete coverage and even strokes. After painting the detailed areas, you can go in with a paint roller to get the remaining open areas. Alternatively, you can use a paint sprayer for a more professional finish. By selecting your preferred painting method, you can achieve professional-looking DIY-painted shutters.
- Stir the paint thoroughly before applying it to your shutters.
- With your choice of painting tool, apply a coat to the detailed areas first. Work your way through the details to the flatter areas. Take your time to ensure that the paint is distributed evenly.
- Ensure sure the first coat is allowed to dry completely. Add another coat if necessary.

- After your shutters are completely dried, it is time to reinstall the shutters and bring your DIY-painted shutter to life.
- Align the board and batten shutters with their corresponding hinges or brackets. Mount the hinges or brackets to the shutters with the appropriate screws and fasteners.
- Carefully test the shutters to ensure they open and close smoothly without getting stuck or having misalignments. Doing this will help resolve any issues before finalizing the installation.
- Gently remove any painter’s tape or protective covers that were applied to the shutters. Be careful not to damage the freshly painted shutters as you peel off the tape. If there is any tape residue, use an adhesive remover or rubbing alcohol to clean the area.
With your newly painted shutters from Dogberry Collections, your home’s visual appeal will have an enhanced exterior. By following these instructions in the blog, you can achieve amazing results and transform the look of your home. Remember to take your time painting your exterior shutters to attain a professional look. Dogberry Collections provides high-quality wood to ensure your DIY wooden shutters can complement your home.


