- Sale
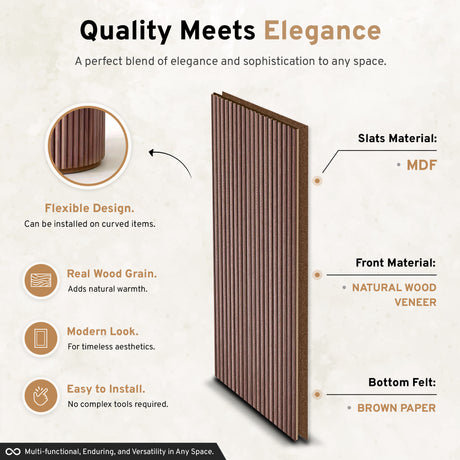
Acoustic Wall Panel Full Sample Box - 4 Different Colored Pieces Included
$0.99$5.99Unit price /Unavailable -
- From $56.00Unit price /Unavailable
-
-
- SaleNew arrival
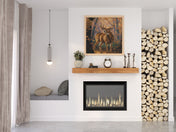
Farmhouse Aged Oak Floating Shelves (2Pack)
From $200.00$259.00Unit price /Unavailable -
- Sale
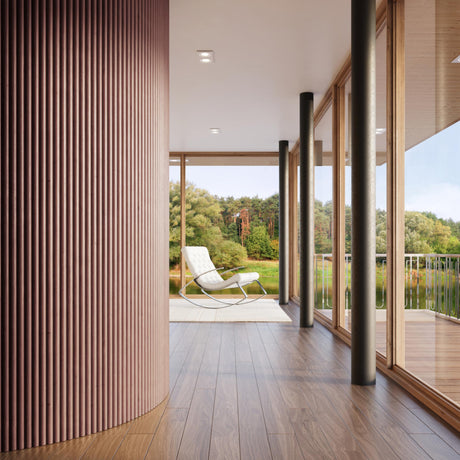
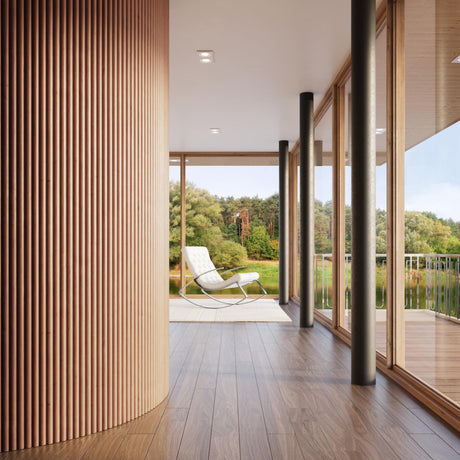
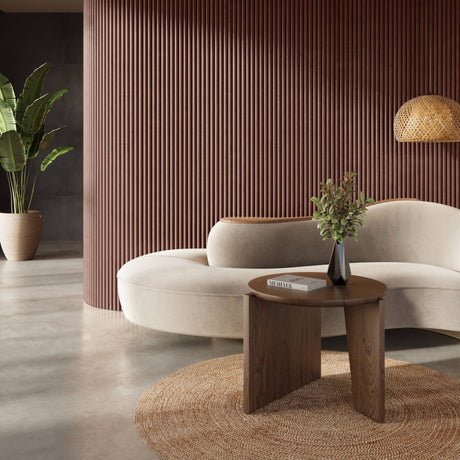
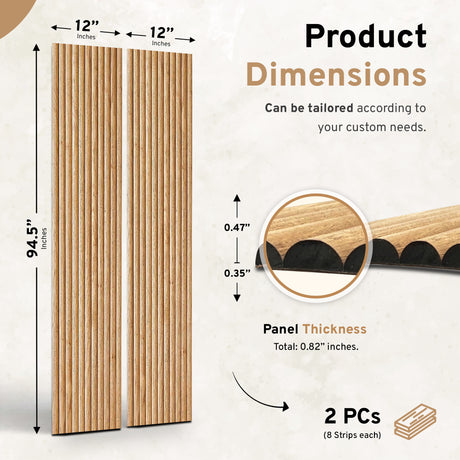
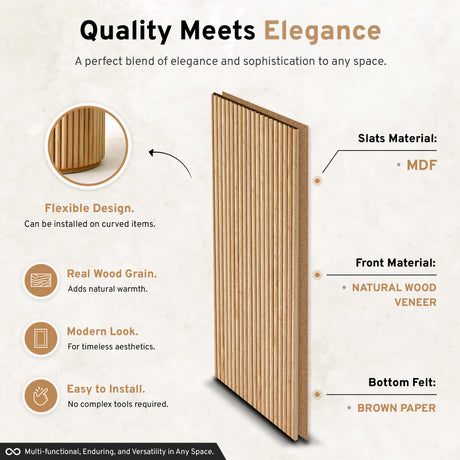
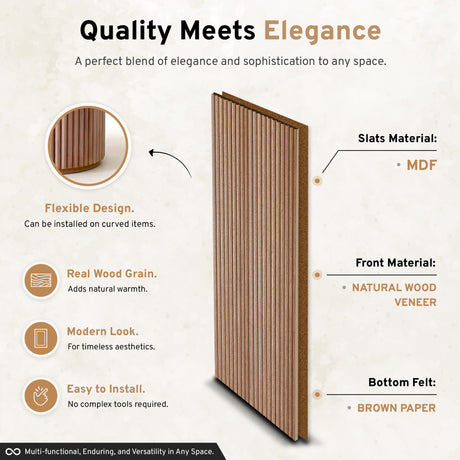
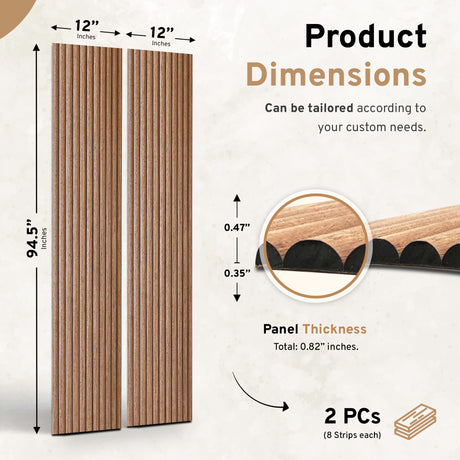
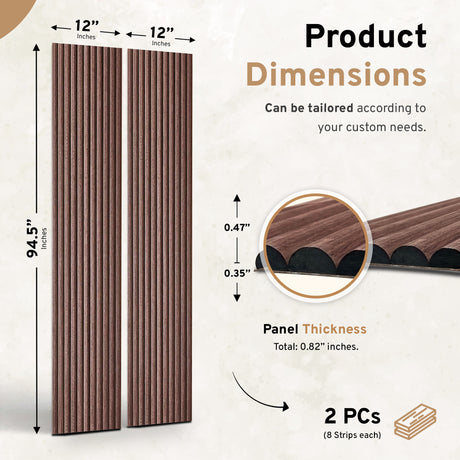
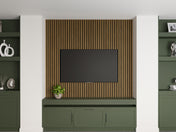
2-Pack Flexible Fluted Wall Panels
$139.00$189.00Unit price /Unavailable -